Issue #14
Basically at a standstill with the wing
panels since last fall. I did attempt to correct the bubbles formed
during the PolyBrush first coat. I used a rag soaked with Reducer
and removed the PolyBrush in those areas. The bubbles were visibly
reduced but not eliminated. I will need to recoat these areas or
risk pinholes in the top color coat.
I completed the first prototype car-top
carrier which is shown here, mounted on the cross members of my stock
Honda roof rack. I've tried it out and it works as planned as a
one-person process. I need to add a washout spacer so that all four
points of the bottom panel are supported after loading the wing
halves.
Ready to load wing panels (and, yes, I need that step stool to do this)
First panel loaded (leading edge first
so that I can easily add a washout support block before closing the
rack).
both wing sets loaded with the rack
ends closed and locked. I may re-think this and load that upper wing
trailing edge first to make a better windstream profile on the front
end although this is only intended to be moved no more than about 20
mph....I'll have to see what it will stand. Most of the sites I
would fly this at could be driven slow from the LZ to launch anyway
so it shouldn't be a problem.
I did some hardware sourcing research
this winter and finally got the rivnuts that are central to the quick
setup design of the Easy Riser airframe. I aquired an airframe from
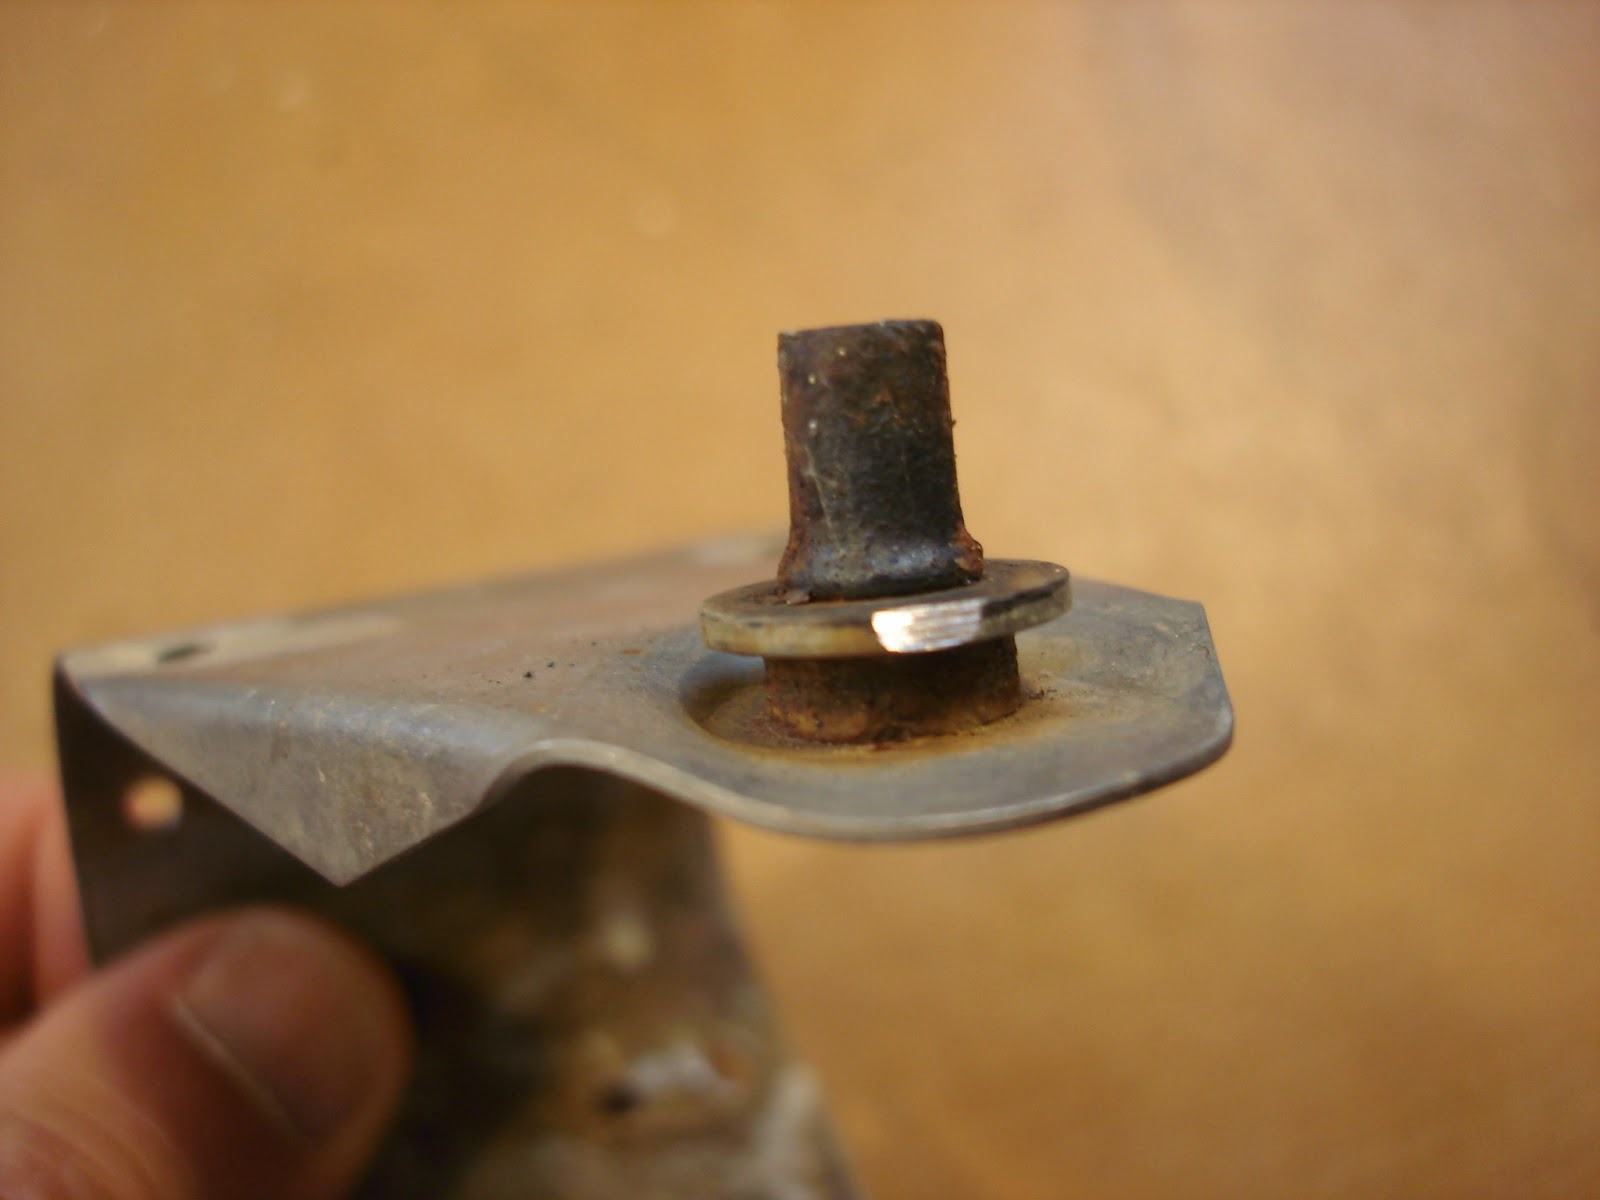
a damaged Easy that had been exposed to saltwater and outside storage
so the rivnuts were badly corroded. The stamped, stainless steel
brackets looked great so I decided to attempt to replace one to see
if I could do it.
I drilled out the old rivnut.
Some of these brackets had key slots
stamped into the rivnut hole and others did not. This one did not
and I ended up filing a notch to accommodate the key on the new
rivnut (I ordered them all keyed since my only reference when I
ordered where the brackets in my kit which were all keyed). You can
see the key on this new rivnut prior to installation.
I will include a photo of the tool I
assembled from parts bought at a local hardware store to install the
rivnut when I find it again. It consisted of a collar with set
screw, a spacer and a bolt....simple and cheap.
Here are the two rivnut sizes used in
the Easy Riser. One is 0.5 inch and the other is .75 inch. I got
them from e-aircraftsupply.com (Jaco
aerospace Pasadena, CA). The manufacturer is Ramco Specialties,
Inc., Hudson, Ohio. The part code numbers the industry uses for
these things are:
NAS#
NAS1329C3K280, BFG# C10K-280, MS# MS27130-C29K
NAS#
NAS1329C3K130, BFG# C10K-130, MS# MS27130-C26K
The
K130 being the short one and the K280 the ¾ inch barrel. Please
note I DID NOT use the same material as the kits sold by UFM. I
decided to order stainless steel vs plain steel which did not stand
up well as you can see. I did not price the plain steel ones. The
cost on the order I placed was $2.00 each for the short ones and
$2.50 each for the long ones.
Here's
a shot of the finished, newly installed stainless steel rivnut using the homemade
tool described above.


